
No products in the cart.

How Factories Produce Pencils for Standardized Exams
- Mark Yang
- May 13, 2026
- 7:15 pm
- No Comments
Table of Contents
Standardized testing remains a cornerstone of global education and professional certification. From the SAT and GRE in the United States to national civil service exams in Asia, the humble pencil is the primary interface between a student’s knowledge and a scanner’s data. However, the pencils used for these high-stakes environments are far from “standard” in their construction. They are the result of rigorous materials science, precision woodworking, and highly automated assembly lines.
For educational institutions and stationery brands, finding a reliable exam pencils OEM partner is about more than just aesthetics; it is about ensuring that every pencil produced meets the strict Optical Mark Recognition (OMR) requirements of modern scanning technology. In this guide, we dive deep into the industrial lifecycle of an exam-grade pencil, from the mineral mines to the final foil stamping.
The Mineral Foundation: Why It Is Never Actually Lead
The most persistent myth in the stationery industry is that pencils contain lead. As documented by Mental Floss, pencils have never been made with lead; they are composed of graphite, a crystalline form of carbon. For standardized exams, the purity of this graphite is non-negotiable.
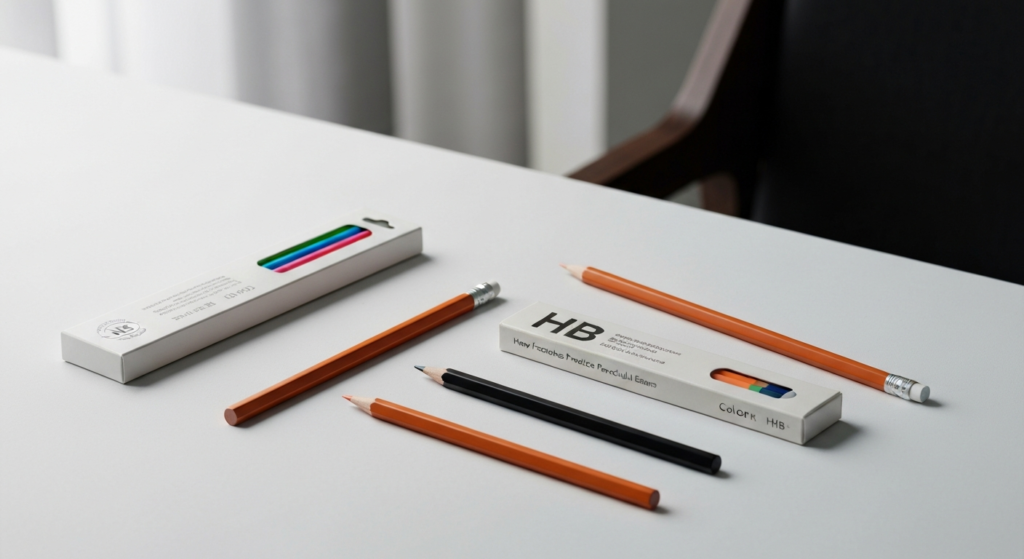
Factories specializing in exam pencils OEM production begin with a meticulously engineered blend of raw graphite and clay. The graphite provides the marking capability—its flat, hexagonal molecular structure allows layers to slide off onto the paper. The clay acts as a binding agent and determines the hardness. In a standardized exam context, the “No. 2” or “HB” grade is the global gold standard. If the core is too hard (containing too much clay), the mark will be too light for the scanner to read. If it is too soft (too much graphite), it may smudge, leading to “ghost marks” that can invalidate an entire exam sheet.
The process starts with grinding the graphite into an ultra-fine powder. This powder is mixed with water and clay to form a pliable paste. According to the Musgrave Pencil Company, the consistency of this paste is paramount. Once the mixture reaches the correct viscosity, it is extruded through a specialized thin die to form long, spaghetti-like rods. These rods are then air-dried and fired in a kiln at temperatures exceeding 1,800°F (1,000°C) to ensure structural integrity and smoothness.
Sourcing the Wood: The Role of Incense-Cedar
The casing of a pencil is just as critical as the core. For a high-quality exam pencils OEM run, the wood must be stable, easy to sharpen, and resistant to warping. Most premium pencils utilize Incense-cedar, sourced primarily from the forests of California and Oregon.
The journey of the wood begins at a sawmill, where logs are processed into “Pencil Stock” or “Pencil Squares.” As highlighted by Pencils.com, these squares are dried in kilns to reduce moisture content. Proper drying is essential; if the wood retains too much moisture, it will shrink later, causing the graphite core to become loose or the wood to crack.
Once dried, the wood is cut into thin rectangular “slats.” These slats are approximately half the thickness of a finished pencil. Modern factories often optimize their supply chains by purchasing these pre-cut slats directly, which allows them to focus on the high-precision assembly stages. This efficiency is a hallmark of large-scale manufacturing, as it reduces waste and ensures that only the highest grade of lumber enters the production line.
The “Sandwich” Method: Precision Grooving and Bonding
The assembly of a pencil is a mechanical marvel of alignment. Factories do not “drill a hole” through a piece of wood to insert the lead. Instead, they use a “sandwich” technique.
A high-speed machine cuts eight parallel grooves into each cedar slat. These grooves are exactly half the depth of the graphite-clay rod’s diameter. A specialized adhesive is then applied to the grooves. The graphite cores are laid into the grooves of one slat, and a second grooved slat is placed on top, effectively “sandwiching” the graphite.
For an exam pencils OEM manufacturer, the centering of the lead is the most important quality control metric in this stage. If the lead is even a fraction of a millimeter off-center, the pencil will be difficult to sharpen, as one side of the wood will always be thicker than the other. This causes the lead to break easily under the pressure of a sharpener—a disaster for a student in the middle of a timed exam. The “sandwich” is then clamped under immense pressure until the glue cures, creating a solid “pencil block.”
Shaping and Finishing: From Blocks to Individual Pencils
Once the glue has dried, the solid block containing eight leads is sent through a shaping machine known as a “molder.” This machine uses high-speed steel cutters to carve the block into individual pencils. Depending on the client’s needs, the molder can create hexagonal, round, or even triangular shapes.
Hexagonal shapes are preferred for exams because they prevent the pencil from rolling off the desk—a small but significant detail in a quiet testing hall. After shaping, the pencils are sanded to a silk-smooth finish.
The next stage involves the application of lacquer. As noted by ASM International, the chemical composition of the paint or lacquer is a sophisticated materials science challenge. It must adhere perfectly to the wood, resist chipping, and be non-toxic (complying with standards like EN71 or ASTM D-4236). Most exam pencils receive multiple coats of yellow lacquer—the traditional color of high-quality pencils—followed by a clear topcoat for extra durability.
The Final Components: Ferrules and Erasers
An exam pencil is incomplete without its eraser. In a modern factory, the attachment of the eraser is a fully automated process. Specialized machinery, as discussed in industry discussions on automated manufacturing, handles the “tipping” process.
First, a small metal band called a “ferrule” is crimped onto the end of the pencil. Traditionally made of brass or aluminum, the ferrule must be securely attached so it doesn’t wobble during use. The eraser, or “plug,” is then inserted into the ferrule and secured by either a second crimp or a strong adhesive. For exam pencils OEM clients, the quality of the eraser is scrutinized heavily. It must be “smudge-free,” meaning it lifts the graphite from the paper fibers without leaving a rubbery residue or tearing the delicate OMR sheet.
Standardized Testing Technical Specifications
To understand why factory precision matters, we can look at the technical requirements for pencils used in OMR scanning.
| Feature | Standard Requirement | Manufacturing Impact |
|---|---|---|
| Graphite Grade | HB or No. 2 | Ensures correct darkness for OMR scanners. |
| Lead Centering | < 0.1mm variance | Prevents breakage during high-pressure sharpening. |
| Eraser Type | Non-abrasive Vinyl/Rubber | Prevents tearing of thin exam paper. |
| Wood Species | Incense-cedar / Basswood | Provides smooth sharpening without splintering. |
Quality Control and Branding for OEM Clients
The final stage in the factory is branding and quality assurance. For an exam pencils OEM project, this often involves “foil stamping.” A machine uses heat and pressure to transfer a thin layer of metallic or colored foil onto the pencil’s surface. This stamp typically includes the brand name, the lead grade (HB/No. 2), and often a batch number for traceability.
Quality control technicians perform several tests before the pencils are packaged:
1. **The Breakage Test:** Measuring the amount of pressure required to snap the point.
2. **The Darkness Test:** Using a reflectometer to ensure the mark is dark enough for standard scanners.
3. **The Sharpenability Test:** Ensuring the wood shaves off in a continuous spiral rather than crumbling.
This level of industrial scrutiny ensures that when a student sits down for an exam, the pencil is the least of their worries.
The Importance of Choosing the Right OEM Partner
For organizations looking to procure large volumes of stationery, the choice of a manufacturing partner is strategic. A professional exam pencils OEM provider offers more than just a product; they provide a guarantee of consistency. In the world of standardized testing, a single bad batch of pencils with inconsistent graphite density could potentially disrupt thousands of test scores.
Industrial efficiency, as highlighted by Interwell’s production guide, is what allows these factories to produce millions of units per month while maintaining microscopic tolerances. From the sourcing of sustainable cedar to the automation of ferrule placement, every step is optimized for high-volume reliability.
Summary of the Manufacturing Journey
The production of pencils for standardized exams is a journey of material transformation. It begins with the geological extraction of graphite and the forestry of cedar. It moves through the chemical engineering of clay-graphite blends and the mechanical precision of grooving and molding. Finally, it concludes with automated finishing touches that add the erasers and branding that we recognize in stores.
When we consider the complexity involved—the kilns, the high-speed cutters, the non-toxic lacquers, and the light-reflection standards—it is clear that the “simple” pencil is a masterpiece of modern manufacturing. For those in the business of education and stationery, understanding this process is key to selecting the right exam pencils OEM and delivering a product that students can trust when it matters most.
Related Reading
- Why Office Buyers Prefer Smudge-Free Graphite
- How Pencil Factories Manage Raw Material Certifications
- Why Importers Should Compare Pencil Slat Quality
- Understanding Pencil Lead Strength Requirements
- Why Office Buyers Prefer HB2 Pencils
- How European Retailers Evaluate Pencil Supplier Reliability
- Why School Tenders Require EN71 and ASTM Reports
- Why European Buyers Prefer Transparent OEM Pricing
Share This Post
Share on facebook
Share on twitter
Share on linkedin
