No products in the cart.
From Wood to Graphite: The Fascinating Process of Making a Pencil

- Mark Yang
- April 29, 2025
- 6:52 pm
- No Comments
Table of Contents
Introduction
The pencil, a staple of classrooms, offices, and creative studios around the world, might seem like a simple item. However, the process of making a pencil is a fascinating blend of natural resources, precise engineering, and meticulous assembly. In this guide, we’ll take you on an in-depth journey through every stage of pencil manufacturing, from raw materials to the final product you hold in your hand.
Step 1: Sourcing Raw Materials
The main components of a pencil are wood, graphite, clay, and a small amount of metal for the ferrule (the band that holds the eraser). Sustainable wood sources—often cedar—are preferred for their straight grain and softness, which make them easy to sharpen and comfortable to hold. The graphite core is actually a mixture of graphite and clay, which determines the hardness or softness of the pencil lead. The eraser is typically made from rubber or a synthetic material.
Wood Selection
High-quality pencils often use incense-cedar, harvested from managed forests to ensure sustainability. The logs are cut into thin slats, dried, and inspected for imperfections. This wood is prized for its durability and aroma.
Graphite and Clay
Graphite is mined, cleaned, and ground into a fine powder. It’s then mixed with carefully measured amounts of clay and water to achieve the desired consistency and hardness. The more clay in the mixture, the harder the pencil lead will be.
Step 2: Creating the Graphite Core
Once the graphite and clay are blended, the mixture is extruded through a nozzle to form thin rods, which are then cut into pencil-length segments. These rods are dried and then fired in a kiln at high temperatures, which hardens them and makes them durable. After firing, the cores are treated with oils or waxes to improve smoothness and performance during writing.
Step 3: Preparing the Wood Casing
While the graphite cores are being prepared, the cedar slats are processed. Each slat is grooved with precise channels to hold the graphite core. The slats are then painted or stained if a colored finish is desired. Quality control at this stage is crucial to ensure uniform thickness and straightness.
Step 4: Assembly and Gluing
Assembly is a delicate process. A worker (or a machine in large factories) lays half of the slats down with the grooves facing up. The graphite cores are placed carefully into these grooves. Another grooved slat is placed on top, sandwiching the graphite. The slats are glued together, forming what’s known as a “pencil sandwich.”
Step 5: Shaping the Pencil
The glued blocks are fed through a shaping machine, which carves the familiar round, hexagonal, or triangular shape of the pencil. The excess wood is trimmed, and the pencils are separated into individual units. This shaping not only provides comfort but also prevents the pencil from rolling off flat surfaces.
Step 6: Painting and Finishing
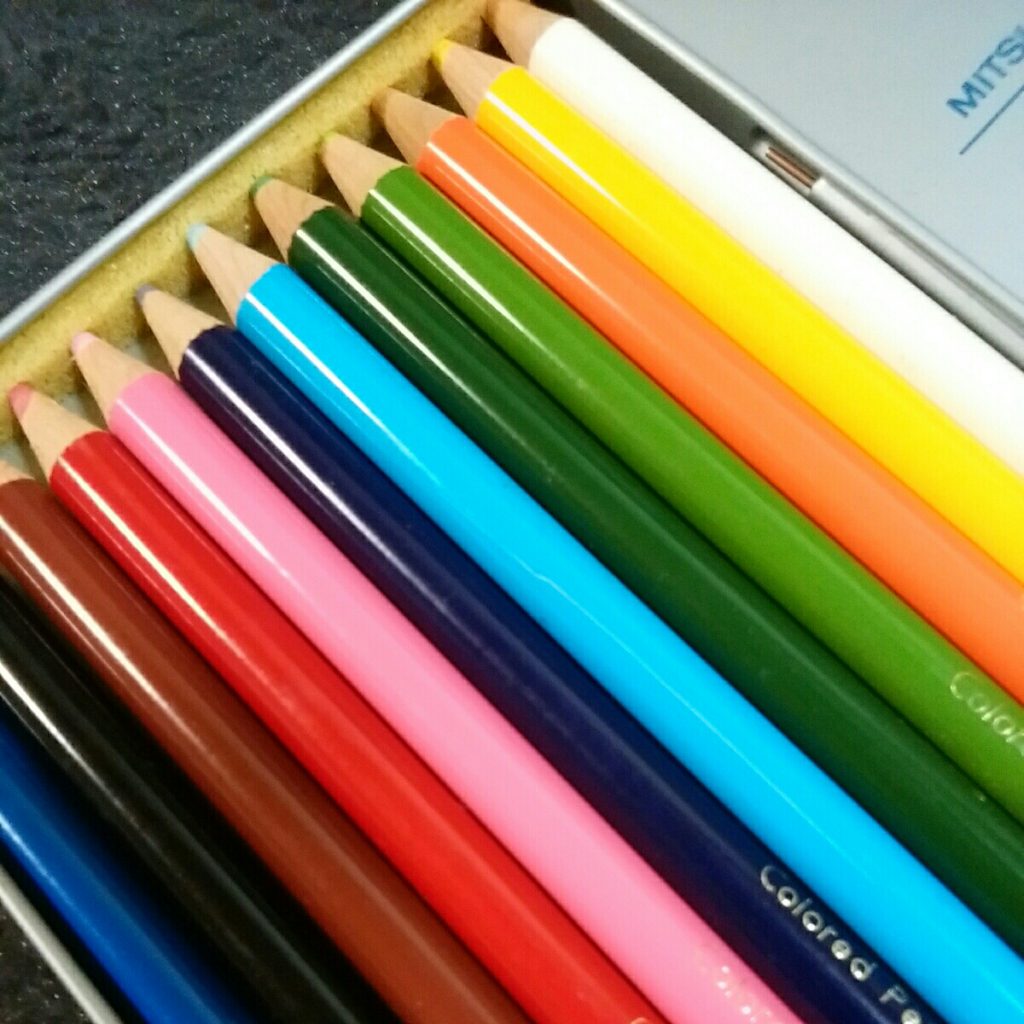
Each pencil is sanded to smooth out any rough edges left from the shaping process. They are then dipped into paint—sometimes multiple times—to give them their final color and finish. Logos, branding, or decorative designs are printed or stamped onto the pencil’s surface. A clear lacquer is often applied for a glossy, protective finish.
Step 7: Adding Ferrules and Erasers
If the pencil design includes an eraser, the next step is to attach the ferrule. This small metal band is crimped securely onto one end of the pencil. A rubber or synthetic eraser is then inserted into the ferrule and held tightly in place. Some pencils skip this step in favor of a simple, eraserless design.
Step 8: Final Inspection and Packaging
Before pencils leave the factory, they undergo a thorough inspection. Quality control checks for straightness, paint finish, eraser attachment, and the integrity of the graphite core. Only pencils that pass inspection are sharpened (if required), packaged into sets, and shipped out to retailers or customers.
Environmental Considerations
Modern pencil manufacturers are increasingly aware of their environmental impact. Many use certified sustainable woods, recycle wood scraps, and avoid harmful chemicals in paints and finishes. Some companies even offer recycled or biodegradable pencils, further minimizing their ecological footprint.
Tips for Crafting Pencils at Home
While industrial pencil-making is highly specialized, it’s possible to create simple pencils at home as a craft project. You’ll need thin wooden dowels or sticks, graphite rods (available from art supply stores), glue, and basic tools for shaping and assembly. Carefully split the dowel, carve a groove, insert the graphite, glue the halves together, and sand the exterior. Finish with paint or varnish if desired. Homemade pencils make thoughtful, personalized gifts or educational tools.
Conclusion
From the careful selection of cedar wood to the precise assembly of the graphite core, pencil-making is a craft that balances tradition and technology. Each pencil represents a combination of natural materials and human ingenuity, resulting in a tool that has stood the test of time. By understanding how pencils are made, we can better appreciate this humble yet essential instrument.
Share This Post
Share on facebook
Share on twitter
Share on linkedin


